Hi guys!
Creating content for Youtube is definitely not easy and above all because people tend to be very visual, the clearer and more harmonious your video is, the more it attracts viewers’ attention and the more likely they are to like it so here are some tips for you can film Youtube videos like a pro!
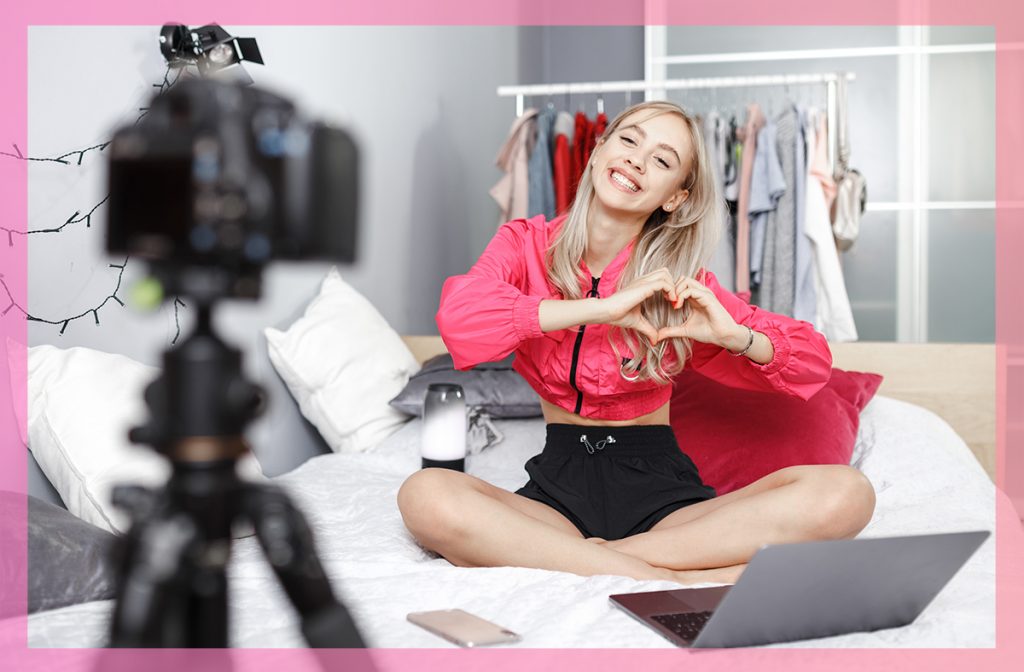
-Light is the master key for every video that can look professional, they’re so many options you can choose for example get any LED video lights, but the truth is if you are new to all this world probably want to start with something more simple and that’s perfect because the key is just to start so the best option is the natural light! All you gonna need to is a place in front of any window you have with good light and make sure to film from 8 am to 1 pm because the lighting is better.
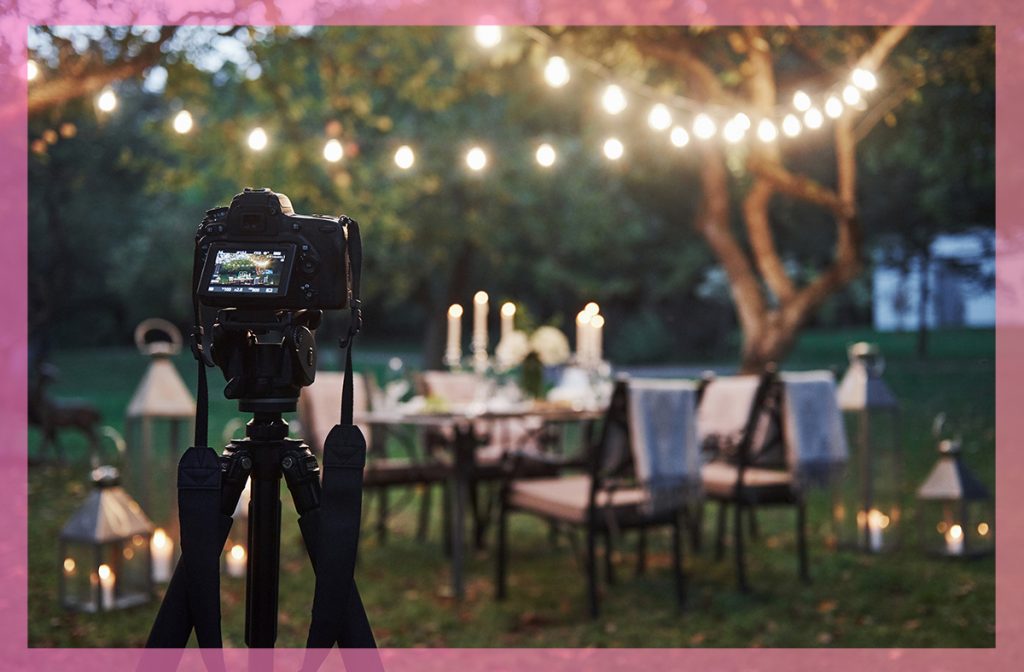
-When filming a panorama, try and place your camera on a tripod for smoother movements and always count a second in your head before moving the camera to avoid the video will move too quickly.
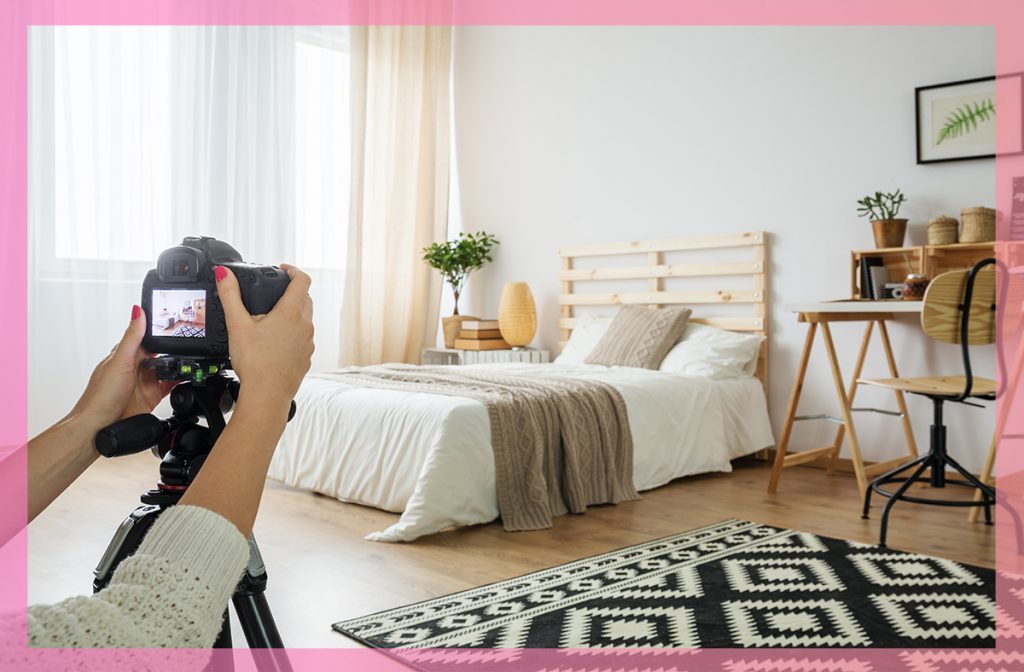
-Before you start filming take a test recording to make sure the framing is correct and that no disturbing background noise is heard.
– Have a checklist of all the important things you need to make sure you don’t miss anything, this helps you avoid stress while you’re filming and makes your mood better. I also have free checklist templates on my recent post called “Content Creator Bundle” if you want to go download them.

– If you don’t have a microphone yet, you can use your phone and click on the voice memo recording options and at the same time click on the camera to start filming, and this way you can have clearer audio. Make sure your phone stays in front of you and at the level of your mouth.

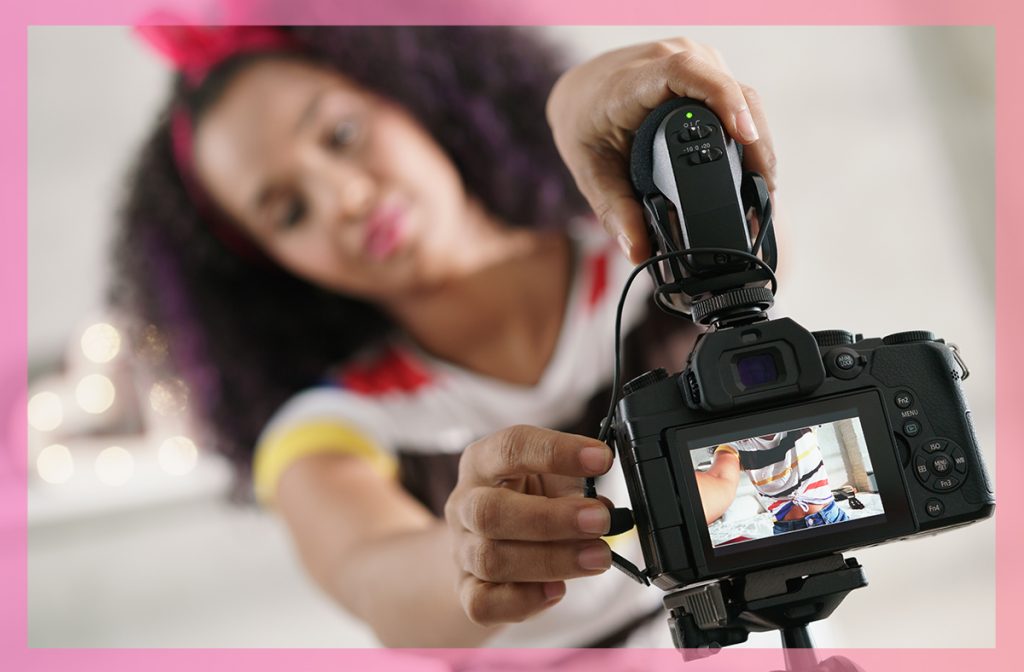
-Add a mirror to the back of your camera for you can have an idea of what is recording and if everything looks good.
-And last but not least, the camera set up is very important for making your videos professional so here’s a little manual of how to shoot in manual mode for you can understand in a very easy way how to set up your camera according on what you need:
- SET YOUR ISO (sensor speed):
100 = Sunny
200 = Partly Sunny
400 = Getting Dark
800 = Sports/Action
1600 = Poor Lighting
3200 = Dark (grain)
- SET YOUR APERTURE (f-stop):
Low Numbers ( 1 2 -4 0) are perfect for portraits.
High Numbers are great for landscapes
- SET SHUTTER SPEED (fraction of time):
-Use a tripod if you use slower shutter speeds (1 second to 1/15th of a second)
-Use slower shutter speeds to blur action
-Use faster shutter speeds to freeze action
*Rule of thumb: keep shutter speed at a min. of 125 for sharp photos*
- WATCH YOUR METER:
Keep your meter at 0 for proper exposure.
Put at +1 for brighter
Put at -1 for darker
I hope you found these bits of information useful if you are a creator yourself. Have a wonderful, creative day!
With love,
Kylie